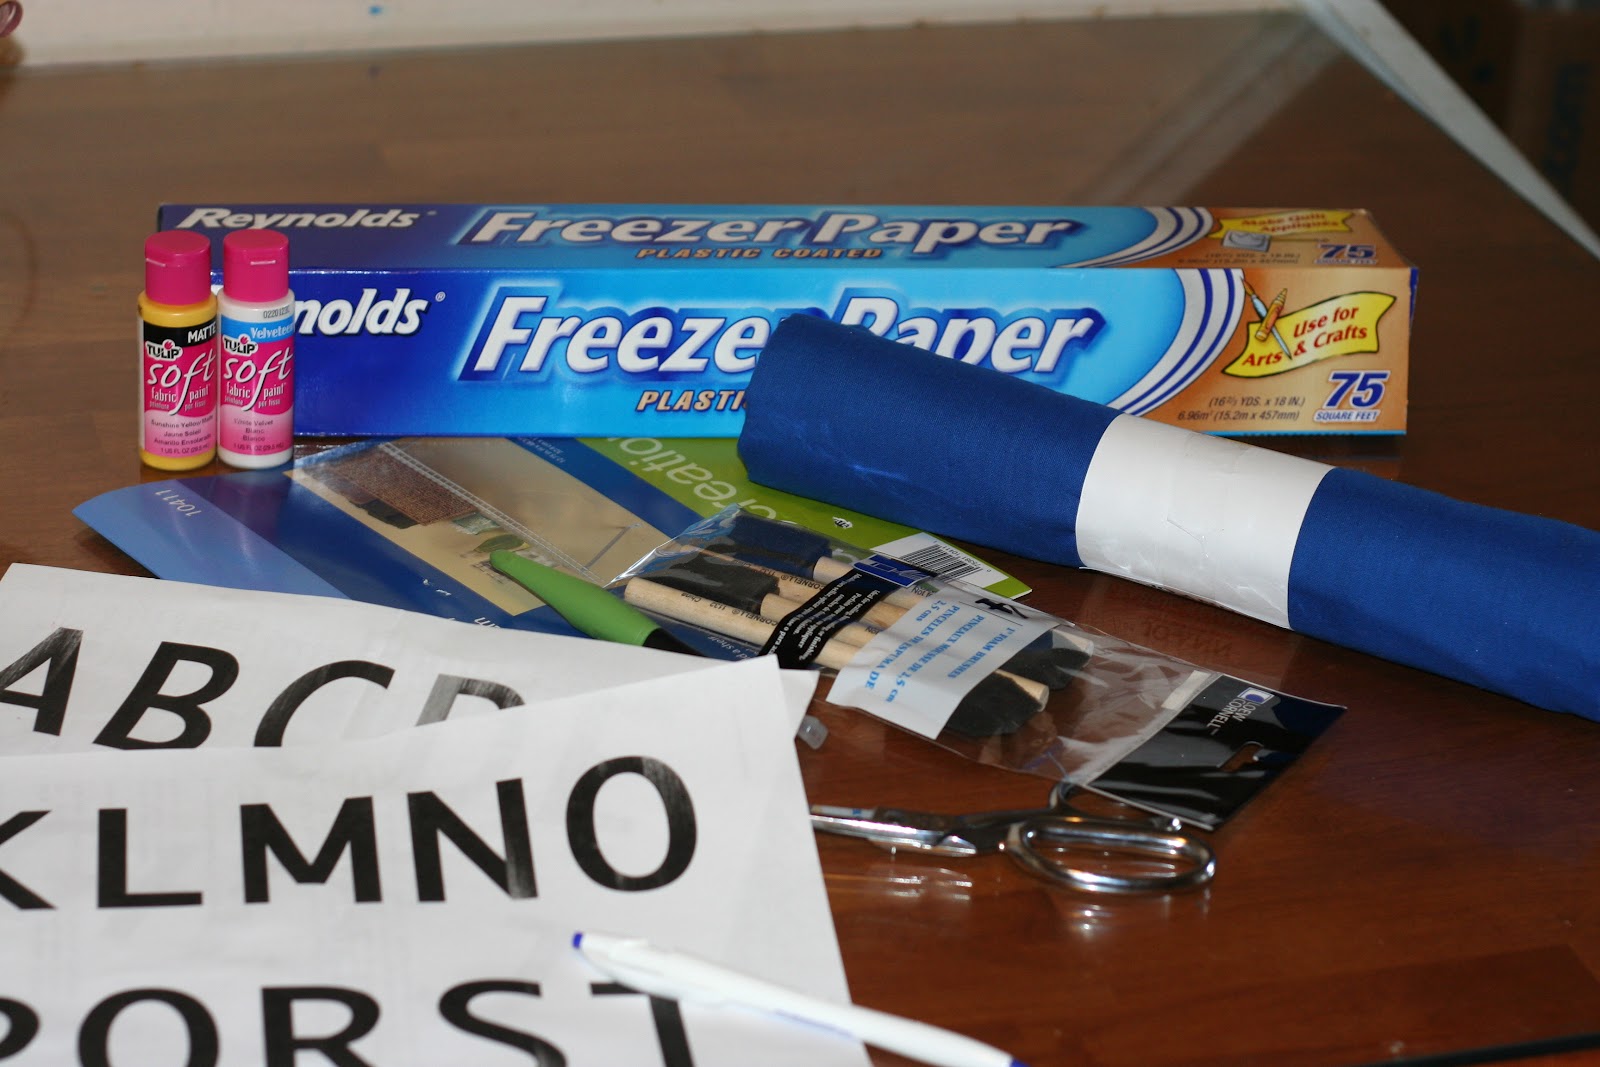
This is the portion of the tutorial for the fabric cape.
For this part you will need:
1 yard of cotton fabric
Scissors
Pins
Sewing machine
(((And a seam ripper if you're new to sewing))) ;)

Start by cutting your fabric. I used a piece 34" wide by 30" long. This is a good length for a 4 year old boy. I'd shave off 2 inches for each size smaller and add 2 inches for each size up (Length only, width should stay the same)

Start by hemming both sides with a small hem. I eye-balled this - it's about a quarter inch turned under, and then turned under again.

Then hem the base. This will ensure your edges are neat and tidy.

Then fold your fabric in half with the remaining raw edge at the top.

Find the middle (far right)

Mark the fold at the middle of the fabric. This will help you pleat your fabric at the neckline so it's even.

Pleat your fabric. You should end up with more or less a 12 inch length across the neckline once all the pleats are in. I took deep pleats to make this work right.

This shows the size of the pleats - 2" folded under to make a 1" pleat.

Cut a length of fabric for the neckline. You can use the same blue fabric, or something different. I grabbed a piece of scrap flannel. I cut mine at 3" wide by 35" long.

Find the middle of the flannel and pin that to your fabric middle. Pin along the neckline edge, making sure you grab your pleats into each pin.

When it's done, it should look something like this.

Sew along the pin lines.

Finished sewing neck seam. Now follow along to make a sealed edge.

Fold the fabric down toward the raw edge.

Fold it down again so that both raw edges are hidden. Try to line the edge of the tie up with the thread line you just finished sewing. Pin it down. Do this all along your neckline edge.
The next post will show you how to finish your neckties and do an neat and tidy triangular end.
Don't forget to pop over to this post (here) and enter the giveaway running through
Sunday, February 19, 7pm (EST).