Pages

Wednesday, February 29, 2012

New Baby's Dresser

With a new baby arriving some time in the next 2-7 weeks, I've [Susie] been feeling the crunch to get everything set for baby. We were going to move around some dressers to accommodate the new little person's clothing, but after a bit of a forgetfulness snafu, I decided I should find a way to use the hideous, old one I was getting ready to throw out. 

It had a peeling finish, broken doors, and to be completely honest, it was the bottom half of a china cabinet. It was never intended for use as a dresser. (Please pardon the ugly photo and hideous mess, this was from a "My House is Trashed" blog post). You can see that the door never liked to stay shut, the hinge was broken at the bottom, the messed up finish is obvious.


I took to the doors with a flathead screwdriver and pried them right off the front. A few minutes of work took the broken hinges off too. Then I took to it with 60 grit sandpaper and (go with the grain!) took off all the finish. Because it was such an old finish, it came off almost completely in 30 minutes of sanding.


Then I went over it with a 100 grit sandpaper. If I had it to do over again, I would have bought a pack of higher grit sandpaper for a final finish, but just using 60 and 100 worked fine.


Then I sprayed it two two layers of primer spray paint. I did this over the course of a few days - sandpaper 1 day, 1 layer of primer in the day, 1 at night, etc. 


Then I painted it over with two coats of Glidden Caribbean Sea. Now, I'm not convinced it was actually Caribbean Sea. I got the quart of paint in a Glidden giveaway last year and when I opened it I thought, "Odd, that looks too blue..." But since it was free, I went ahead with the project. I think it's actually Glidden Cool Cobalt and I still love it. 


Then I took a piece of 100 grit paper to the finish and rubbed off some of the paint. I went with the grain on the flat panels and then gave special attention to the corners to take off more paint. 


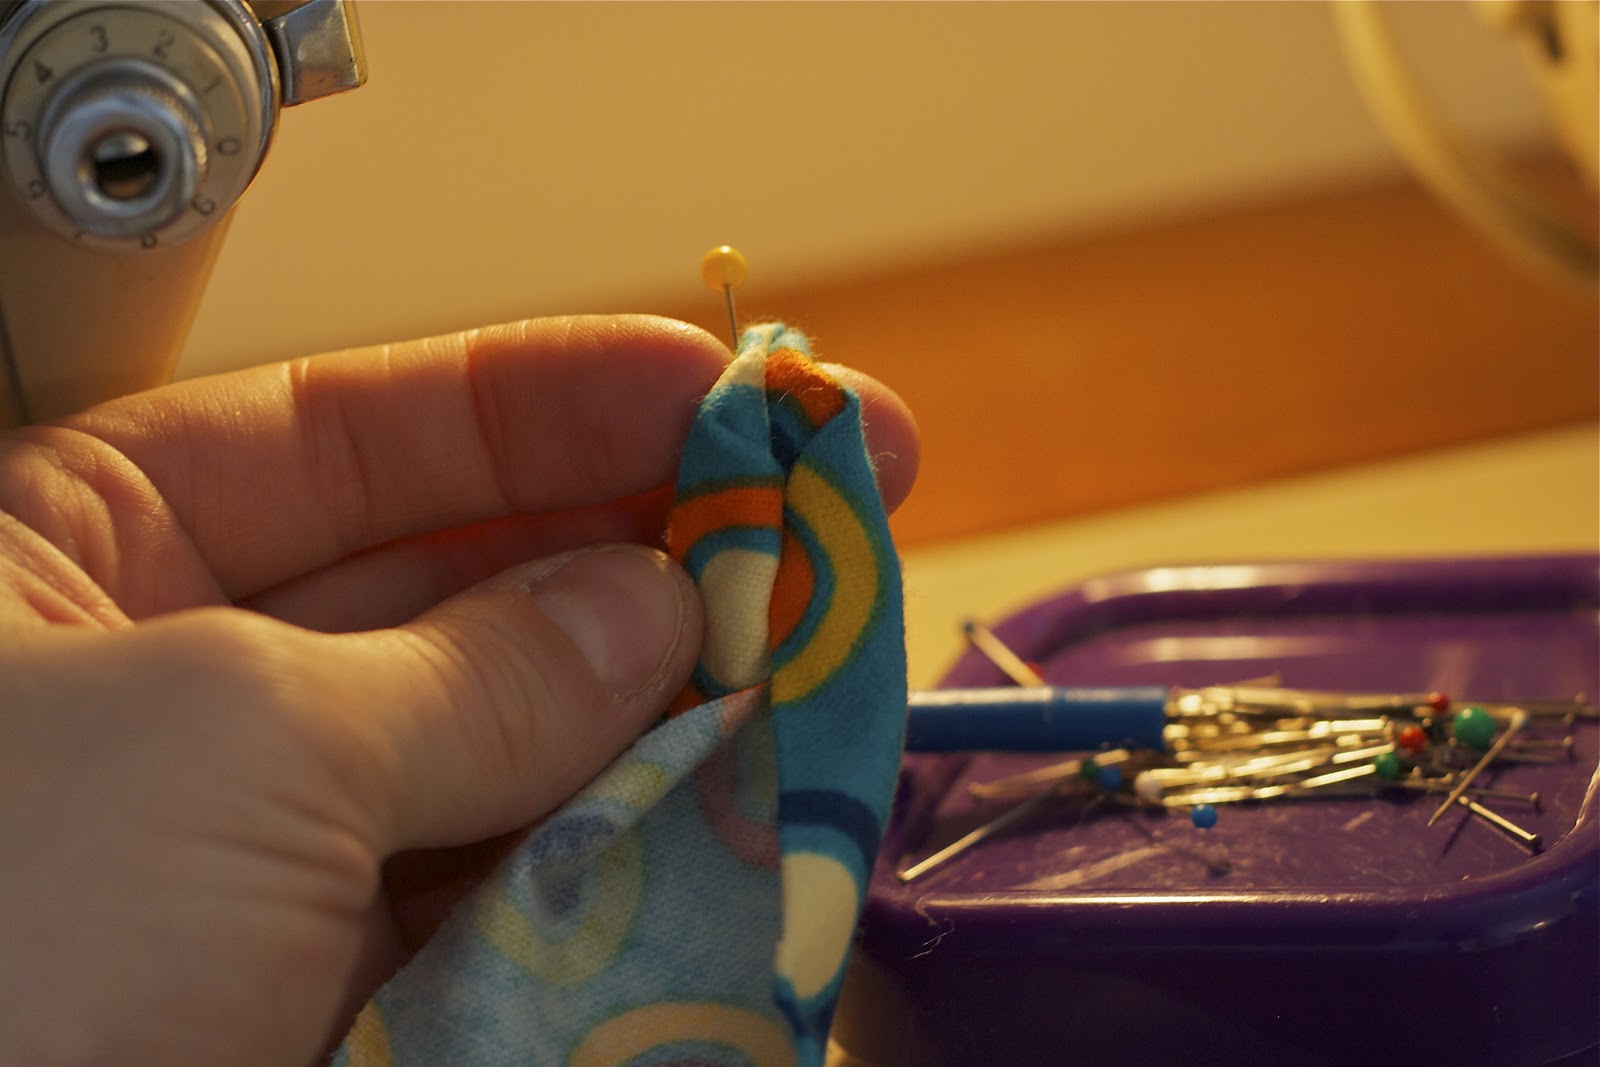
The final touch was fabric covered baskets to go inside the shelving. A tutorial is coming soon! Easiest $10 project!


The secret weapon: Dollar Tree plastic bins can be hidden.

I love the overall look! Can't wait to get it upstairs!

Tuesday, February 28, 2012

Gnomeo & Juliet Costume from Halloween 2011


A friend of mine commissioned this gorgeous set of matching Halloween costumes. 

Gnomeo & Juliet was a big hit at her house and with a 6 year old boy and a 3 year old girl, she had just the right set up. But they costumes were not available for purchase in stores, so she asked me to try my hand at it. 


Juliet's dress was one piece. The wearer's previous Halloween costume had too many bits and pieces, making it a pain for Mom every time she wanted in and out. So I tried my very best to make it all connected. It has a zipper back, a small velcro closure for the vest and a sash tie for the apron. But all those pieces were connected. Nothing gets lost ;). Gnomeo's costume included a vest with an attached belt, pants, and boot covers.


Photo Credit for the photo above to Savor Photography of Naples, FL
They had a lovely time in them and I really loved coming up with something no one else had made! Custom order costumes are one of my favorite things to make.

Wednesday, February 22, 2012

Pinterest Love: Yarn

There are few things that make me happier than beautiful shades and textures of yarn. This for example.... is a dream of mine! Every color you could imagine at your fingertips :)


I absolutely love crocheting! making something intricate and beautiful out of a long string is amazing to me. I am aware though, that tons of people just don't enjoy knitting or crocheting. That being said, I went searching for some fun crafty ways to use up those yarn scraps you have lying around! This one is super easy... and pretty cheap to put together :) I have one hanging on my front door right now!


This one is great for all those tiny scraps you end up with! Absolutely adorable!


Mothers everywhere are screaming at me posting this one, but I thought it could be a fun project to do with my nieces. You can do it with balloons as well.


Not interested in as much mess? I can't wait to try this one!


And as we approach Easter - This one is just too cute to leave out!


send us pictures of your yarn projects if you do any!!

Tuesday, February 21, 2012

Freezer Paper Stencil Super Cape Tutorial: Entry #4

So you've made it! You have a finished cape and you have your freezer paper letters ready to go. This is the last step!

For this portion of the project you'll need:

Your finished apron
Your finished freezer paper stencil
Fabric paint (I used Tulip Soft)
A foam paint brush
Something sharp (not your exacto knife) like a seam ripper or pin.
An iron
An ironing board


Lay your freezer paper down in the middle of your cape. Be sure to center your words on the cape and pay attention to centering them if you are using more than more line of word, like I am here. 


Now with a warm iron and no steam, iron down your pieces. Be sure that everything stays flat and does not wrinkle up or turn over. 


With a seam ripper, pin, or other sharp object (I wouldn't recommend the exacto knife, as you may cut through your fabric), cut out the pieces holding your inside portions.


Get your foam sponge and paint. I used Tulip Soft fabric paint and a 1" foam brush. 


Paint over your lettering. Be careful not to hit the fabric beyond your stencils. Like I did. Once you have finished painting you can peel off your stencil (I didn't even wait for it to dry). 


Hang to dry


And that's it! Congratulations!

Monday, February 20, 2012

Freezer Paper Stencil Super Cape Tutorial: Entry #3

I think the photos of this tutorial speak well enough on their own. Here's how to finish the neckties of your super cape. This is my tried-and-true method for all my ties. It works with any fabric and there are no raw edges. I find this is the easiest way to get maximum look. If you are having trouble, pin at each step, so that you have both hands to do the next step.

For this portion of the project you'll only need your cape and pins.